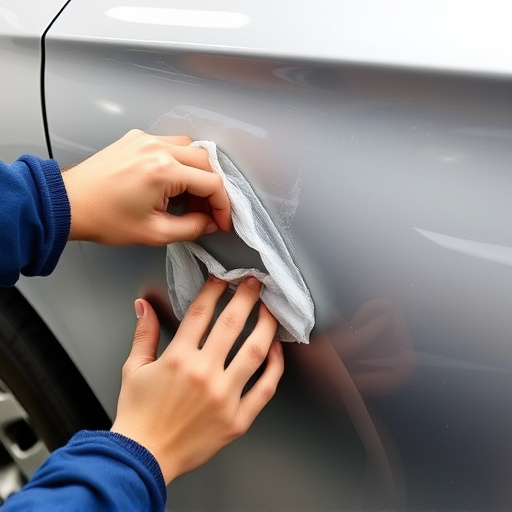

Assess vehicle damage, from minor chips to structural issues, and consider professional repair for extensive cases. For smaller defects, prepare by washing, sanding (with finer grits), cleaning, and priming. Tailor restoration methods for dents, scratches, and swirls, using specific tools and materials. Set up a clean workspace, protect the car from sun, and approach DIY projects with patience and care for professional results in car paint restoration.
Looking to give your car a fresh coat and restore its former glory? DIY car paint restoration is an achievable goal with the right guide. This ultimate guide takes you through every step of the process, from assessing damage (dents, scratches, swirls) to achieving a professional finish. We’ll equip you with knowledge on tools, techniques, safety precautions, and even tips for maintenance, ensuring your restored paint job lasts. Master the art of DIY car paint restoration and save while achieving a vibrant, like-new look.
- Assessing Your Car's Paint Damage and Preparing the Surface
- – Understanding different types of car paint damage (dents, scratches, swirls, etc.)
- – Gather necessary tools and materials for restoration
Assessing Your Car's Paint Damage and Preparing the Surface

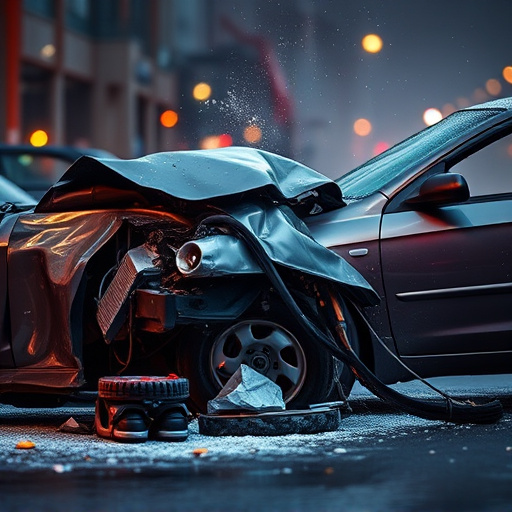
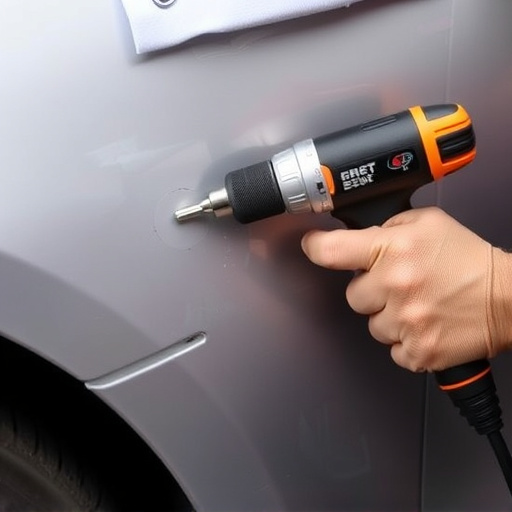
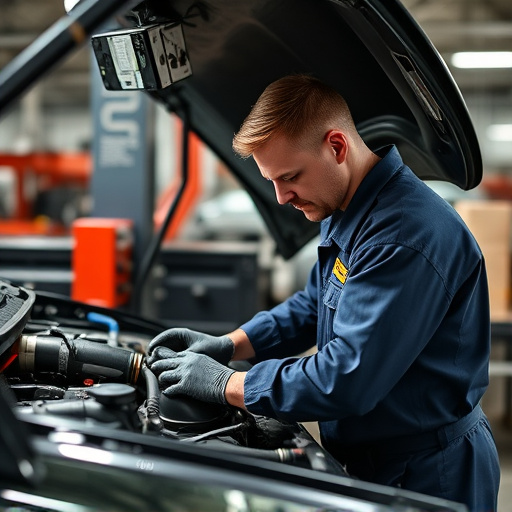
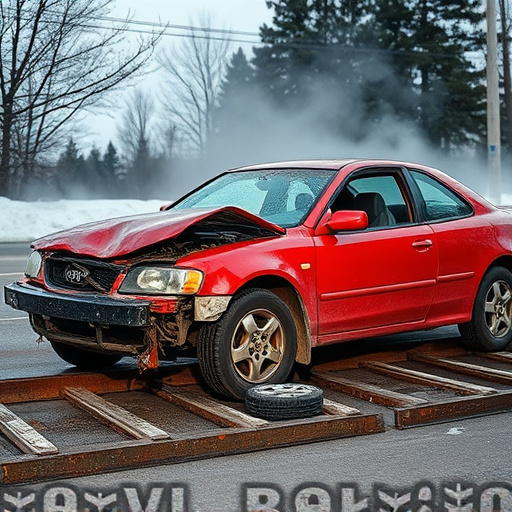
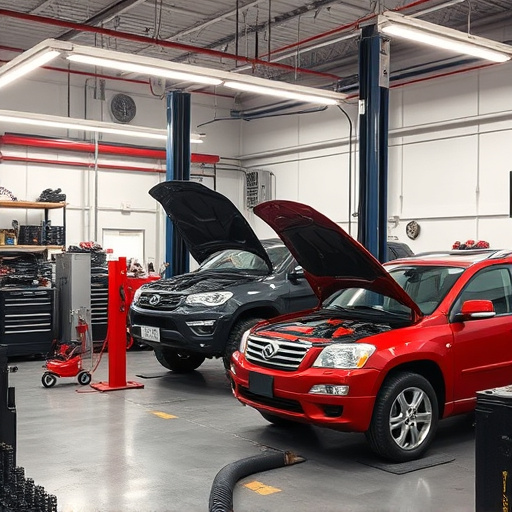
Assessing your car’s paint damage is the first crucial step in any DIY car paint restoration project. Start by examining the affected area closely—look for chips, scratches, dents, or rust spots. These defects can range from minor surface imperfections to more severe structural issues that may require professional attention. If the damage is limited to small chips or scratches, you might be able to handle it yourself with some simple tools and techniques. However, if there are deep gouges, large rust patches, or significant misalignments, consider taking your vehicle to a trusted collision center or automotive body shop for expert repair before attempting any DIY methods.
Once you’ve assessed the damage and decided what can be done at home, preparing the surface is vital for achieving a smooth, long-lasting finish. This involves several steps: washing and degreasing the car thoroughly to remove any dirt, oil, or grime; sanding the damaged area gently with progressively finer grits of sandpaper to ensure a uniform surface; and cleaning again after sanding to eliminate any dust or residue. Priming the surface before applying new paint is also essential for better adhesion. This preparation phase requires patience and attention to detail, but it’ll lay the groundwork for successful car paint restoration, whether you’re handling minor touch-ups or more extensive auto painting tasks.
– Understanding different types of car paint damage (dents, scratches, swirls, etc.)

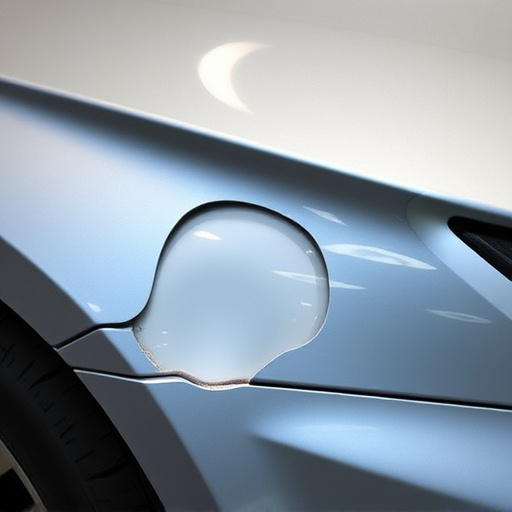
Car paint damage can manifest in various forms, each requiring a specific approach during the restoration process. Dents, for instance, are depressions or indentations in the vehicle’s bodywork, often caused by minor collisions or impact with debris. These can range from small, shallow dimples to larger, more pronounced bumps that affect the overall contour of the car body.
Scratches and swirls are common issues that not only mar the paint’s surface but also compromise its integrity. Scratches typically involve minor nicks, scratches, or gashes in the paint, while swirls are longer, wavy marks caused by rubbing or poor washing techniques. The severity of these damages can vary, with some requiring gentle touch-ups while others might necessitate more intensive auto frame repair and vehicle dent repair procedures to restore the car’s original finish and appearance.
– Gather necessary tools and materials for restoration

Before tackling any car paint restoration project, ensure you have all the necessary tools and materials to achieve professional results at home. This includes a car paint restorer or compound, sanding blocks of various grits, a buffer (either manual or electric), and microfibre cloths for polishing. Don’t forget safety gear like gloves and goggles to protect yourself from chemicals and debris. For severe cases of car paint damage, such as dents or scratches resulting from an automotive collision repair, you might also need a putty knife, a heat gun, and a primer.
Once you have assembled your kit, create a clean and well-ventilated workspace. Park your car in a shaded area to prevent the paint from drying too quickly during application. Remember that DIY car paint restoration is not an auto repair shop-level task, so be patient and take your time to achieve the best results.
Restoring your car’s paint at home is an achievable goal with the right knowledge and preparation. By understanding common paint damage and gathering essential tools, you can effectively assess and prepare your car’s surface for a like-new finish. With dedicated care and attention to detail, DIY car paint restoration allows you to take control of your vehicle’s appearance, saving time and money while ensuring a satisfying, long-lasting result.